How to Knock In Your Cricket Bat
Knocking-in is the process of compressing the fibres of the willow so a new bat can absorb the impact of a cricket ball. This guide walks through the four steps: oiling the bat, knocking it with a wooden mallet, testing it with an old leather ball, and using it in the nets before a match.
Knocking-in is a crucial step that transforms a new cricket bat into a match-ready weapon. Whether you're using an English Willow or Kashmir Willow, proper knocking ensures better performance, extended bat life, and fewer chances of cracks or splits.
Let’s break down the complete process of knocking-in your cricket bat — the right way!
What is Knocking-In?
Knocking-in is the process of compressing the fibers of the willow in your cricket bat. This strengthens the bat’s surface and helps it absorb the impact of a cricket ball. It’s like preparing the bat for the real battle.
Step 1: Oiling the Bat (Optional but Recommended)
Why? Oiling nourishes the willow and prevents dryness or cracking.
- Use raw linseed oil or specialized bat oil.
- Apply a thin layer on the face, edges, toe (not on the splice or handle).
- Let it absorb for 12–24 hours.
- Wipe off any excess oil with a clean cloth.
- Repeat once more if the bat looks dry.
Tip: Don’t over-oil – it can soften the bat too much.
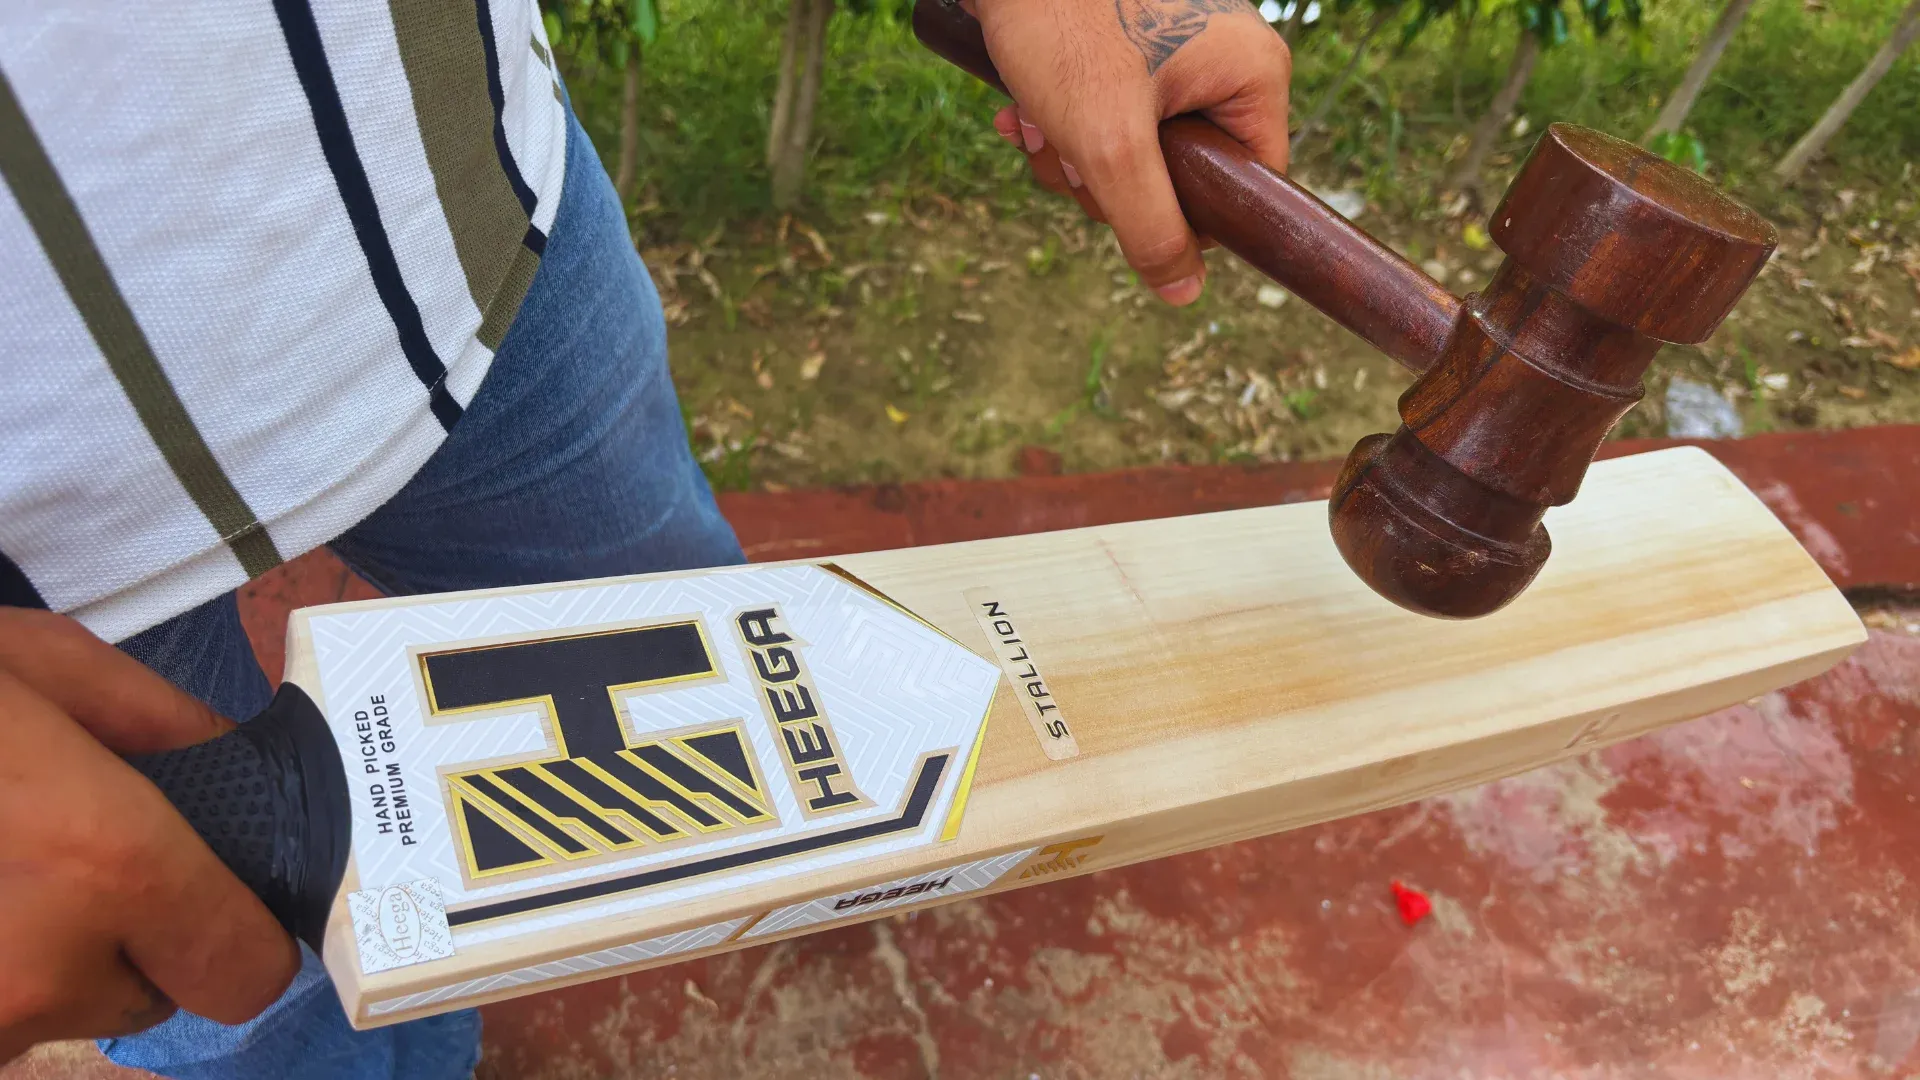
Step 2: Manual Knocking with a Wooden Mallet
Duration: 4 to 6 hours (split over a few days)
- Start with the face of the bat. Tap gently in circular motions.
- Focus on the edges, gradually increasing pressure.
- Avoid hitting the splice, handle, or sticker areas.
- Once you see a slight “dent” effect, the bat is compressing well.
Edge & Toe Work: Gently round off edges and toe with glancing blows (not full hits).
Step 3: Test with an Old Leather Ball
- After ~6 hours of knocking, try hitting an old leather ball.
- If you hear a hard “crack” sound or see seam marks — continue knocking.
- If it feels responsive and sounds clean — it’s nearly ready!
Step 4: Net Practice with an Old Ball
- Use the bat in the nets with older balls first.
- Start with soft throwdowns or throw balls — no fast bowling yet.
- Do this for a few sessions before using it in real matches.
Common Mistakes to Avoid
- Don’t use a new bat straight into a match – it’ll likely crack.
- Avoid machine knocking unless done professionally.
- Don’t oil a pre-knocked or painted bat unless specified.
Pro Tip: Buy Pre-Knocked Bats from Heega Sports
At Heega, many of our bats like the Heega Tornado, Stallion, and Sword Series come pre-knocked with 10,000+ knocks, reducing your manual effort and getting you match-ready faster!
Final Thoughts
Knocking-in may take time, but it’s worth every second to protect your bat and boost its performance. Treat your bat well, and it’ll return the favor with runs!
Looking for a pre-knocked, match-ready bat?
Browse our English willow bats and Kashmir willow bats.
Related posts
 English Willow Cricket Bat Knocking-In Explained: Preparing the Blade Before Match UseLearn how to knock in an English Willow cricket bat, prepare the blade before match use, avoid common mistakes, and protect your bat from premature damage.
 The Ultimate Knocking-In & Bat Maintenance Guide for Overseas CricketersLearn how to knock in and maintain your cricket bat for overseas cricket, including oiling, moisture control, storage, repairs, travel, and seasonal care.
 How to Knock In and Maintain an English Willow Cricket Bat Properly.Learn how to knock in and maintain an English Willow cricket bat properly with practical tips for preparation, oiling, storage, repairs, and long-term care.