Anti scuff sheet on a cricket bat: what it saves and when we fit one
What an anti scuff sheet actually does
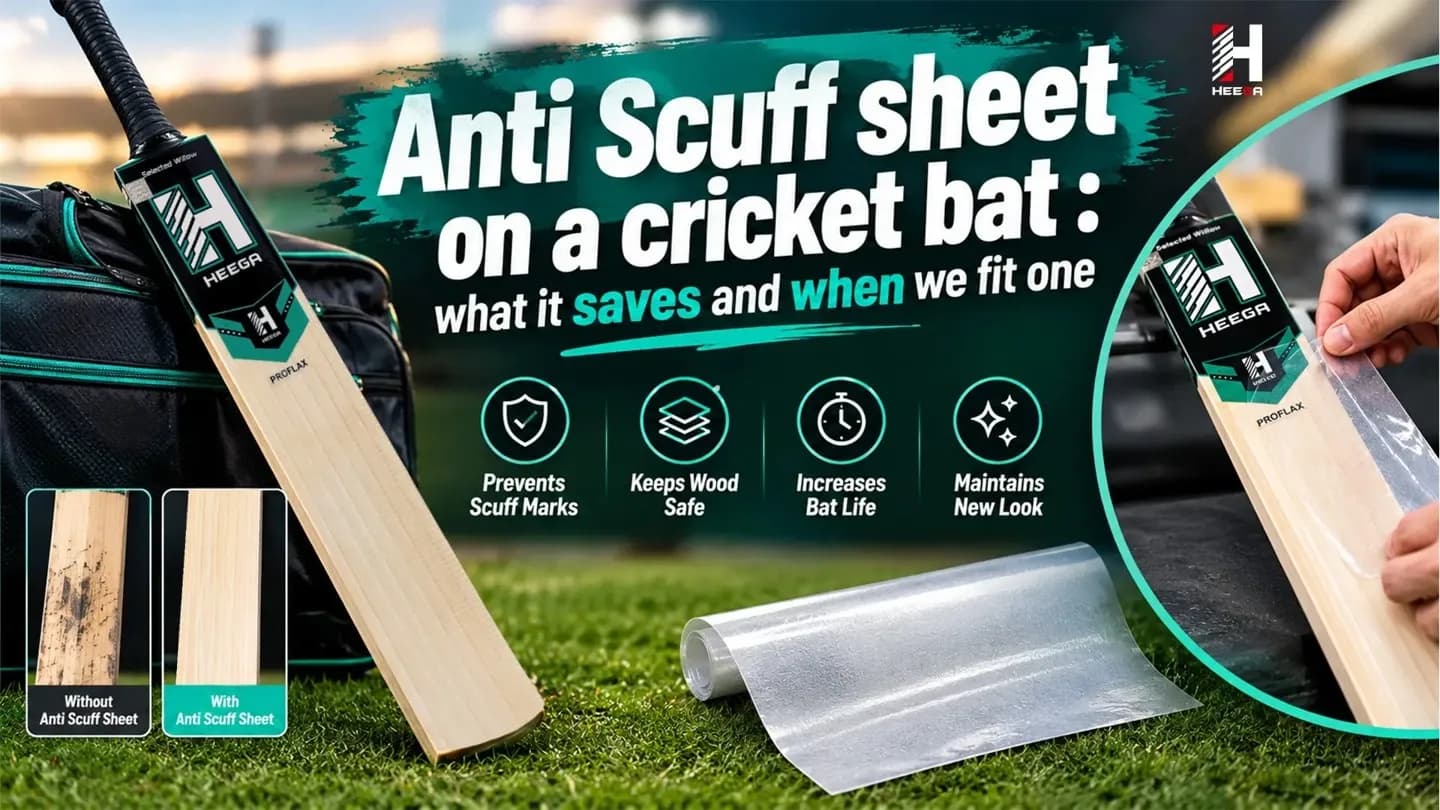
A new bat face is soft. The first weeks of hitting leave seam marks, small dents and fine cracks along the grain. An anti scuff sheet is a thin clear film stuck to the face, and it takes those marks first.
It does two jobs. It holds the top layer of fibres together, so a small surface crack does not open and run. And it keeps damp off the part of the face that meets the ball most often, so the willow there does not swell and go soft.
It does not make the bat stronger. It will not stop a crack that starts deep in the blade, and it does nothing for an edge that takes a hard hit. Think of it as a skin, not armour.
What the sheet hides
This is the part players forget. A clear sheet looks like nothing, but it sits over the face for a whole season. Under it you can no longer read the grain closely. You also lose sight of the small surface lines that tell you a bat needs rest or a little oil.
So before a sheet goes on, we look at the face in good light. We note any pin knot, butterfly stain or line in the grain that looks open. A stain or a knot is fine to cover. A crack you can feel with a fingernail is not. That one gets attention first, or the face stays bare so it can be watched.
Once a season, peel the sheet off and look at the face. Then put a new one on. Old film turns cloudy and starts to lift at the edges anyway, so nothing is lost.
The toe it does not cover
A face sheet stops short of the toe. Most end 3 to 5 cm above the bottom of the blade, and they do not wrap round it. Yet the toe takes the most wear in club cricket: tapping the crease, full balls dug out, wet outfields.
The toe needs its own care. Give the bottom of the blade two or three light coats of oil, and let each coat dry before the next. Do not stand the bat on its toe on wet grass or a damp floor. A toe that drinks water swells, and then it splits along the grain as it dries out. Most of the toe damage we see on bats sent back to us starts this way, not from a single big hit.
When we fit one, and when we leave the face bare
Timing matters more than the sheet. The face must be oiled, knocked in and fully dry first. Oil trapped under a sheet stays wet. It lifts the film, and it leaves the willow soft in patches right where the ball lands.
Our rule is simple. After the last coat of oil, wait at least 24 hours. Press a thumb on the face. It should feel dry, not tacky. Only then does the sheet go on. Use raw linseed oil and use it thinly; a teaspoon spread across the face is plenty for one coat. The bat oils we stock are raw linseed for exactly this job.
We leave the face bare in a few cases. The first is a bat still being knocked in. A sheet fitted halfway through hides the marks that tell you where the face is still soft.
The second is a raw English willow face in its first weeks. That face wants oil more than once while it settles, and a sheet shuts the oil out. With the English willow bats we would rather a player finish the oiling, play a few net sessions, and then fit the sheet.
The third is the player who likes to read the face. Some batters want to see every seam mark, to know where they are striking the ball. That is a fair choice. They just need to oil and check the face more often.
Kashmir willow is harder and drier. It takes less oil, and the surface can flake a little in the first season. For those bats, a sheet fitted early, once the face is dry, does more good than harm.
Fitting it without bubbles
Work in a warm room. A cold sheet is stiff and holds air. If the sheet is wider than the face, trim it with sharp scissors before you peel anything. Never cut on the bat; a blade on the face cuts the willow as well.
- Wipe the face with a dry, clean cloth. No oil film, no dust, no sticker edge in the way.
- Lay the sheet on the face with the backing still on. Check it sits square, about 1 cm in from each edge, and starts just below the shoulder.
- Peel back 3 to 4 cm of backing at the top only. Press that strip down from the centre outward.
- Pull the backing down slowly with one hand. With the other, smooth the film from the middle to the edges with a soft cloth.
- Use short strokes. Sweeping from one edge right across to the other pushes air into a corner and traps it there.
- Press the edges last, then run a thumb firmly along each one.
A small bubble can be pricked with a pin and pressed flat. A long bubble means the film went on crooked. Lift it gently back to that point and lay it again; a fresh sheet holds well enough to take one correction.
After it is on
Leave the bat for a day before batting with it. The adhesive needs that time to grip the grain.
Check the edges of the sheet every few sessions. A lifted edge catches the ball and peels further each time. Trim a lifted corner back with scissors rather than taping over it, because tape holds damp against the wood.
The edges and back of the bat stay bare, so they still need oil. A light coat about once a month in the season is enough for most club bats. Keep it off the sheet; oil creeping under the film is what lifts it.
Our bat care kits carry an anti-scuff sheet with the oil, mallet, grip and cone, so the whole job can be done from one box.
Related posts
 The Art of Reading the Game: How Elite Cricketers Anticipate What Happens Next.Discover how elite cricketers read the game and anticipate what happens next. Learn how observation, experience, pattern recognition, and smart decision-making help players succeed across Nepal, Germany, USA, Canada, the Netherlands, and the UK.
 Cricket bat dispatch and packing: how a bat leaves our workshopCricket bat dispatch and packing at the Meerut workshop: the final weigh, the sticker check, the cover, the carton, and what to do if a bat arrives damaged.
 A bat for tennis ball cricket: what we change in the buildHow the Meerut workshop builds a bat for tennis ball cricket: a lighter cleft, thick edges, a shorter blade, and why season willow is wasted on a tennis ball.