Sanding a Cricket Bat: How to Re-face an Old Blade
Why an old face needs sanding
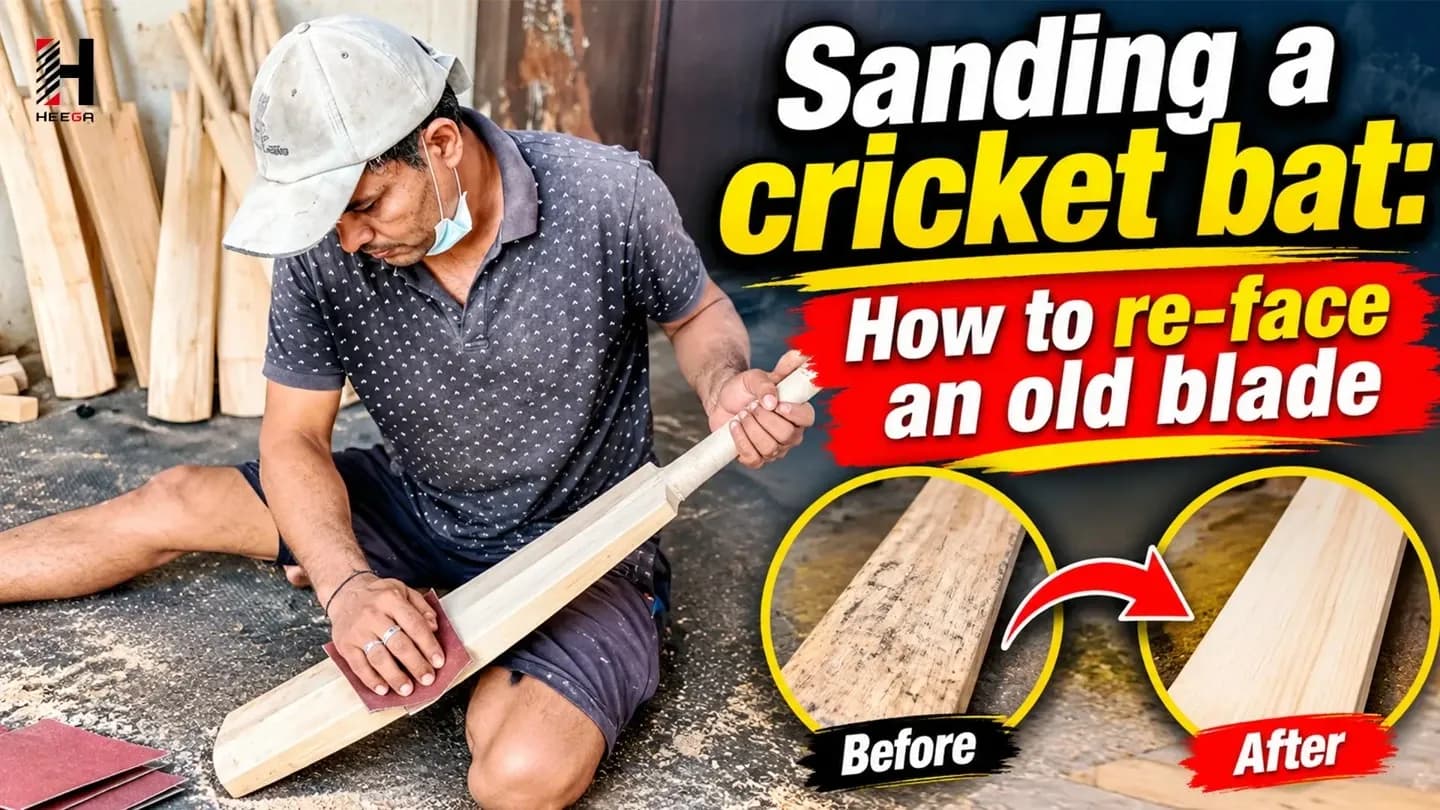
A bat that has done two or three seasons looks tired. The face is grey, the ball marks have gone dark, and the old oil has dried into a dull crust. Small seam cuts sit across the middle. Sanding a cricket bat takes that tired layer off and gives you clean willow to oil again.
It is a half-day job. You need sandpaper, a flat block, a cloth and some raw linseed oil. You do not need a power sander, and we would ask you not to use one. A sander takes wood off faster than you can see, and willow is soft.
Before you start, know what you are removing. When we finish a bat in the workshop, the face is pressed first. Pressing squeezes the fibres near the surface so they are harder than the wood behind them. Every pass of sandpaper takes a little of that hard layer away. That is why the rule below about depth matters more than anything else in this post.
The grades of paper
Buy three grades: 120, 180 and 240 grit. That covers almost every bat.
Use 120 grit to cut through old oil, dirt and the dark ball marks. Use 180 to take out the scratches the 120 left behind. Use 240 to close the surface so it feels smooth under your palm.
Keep a sheet of 80 grit only for one job: lifting the glue left by an old anti-scuff sheet or a torn sticker. Use it on that patch and nowhere else. On open face, 80 grit tears the grain and you will spend an hour sanding out its marks.
Wrap the paper round a flat wooden block, about the size of your palm. A block keeps the face flat. Paper held in your fingers dips into soft spots and leaves the face wavy, and you will feel that wave when you play a straight drive.
Which way to sand
Always along the grain. On a bat that means up and down the blade, from shoulder to toe, in long even strokes. Never across the blade and never in circles.
The grains run the length of the blade. Sand across them and you cut little trenches between them. Those trenches hold dirt, drink oil unevenly and show as fine lines once the bat is oiled.
On the edges, follow the curve. Hold the block at the angle of the edge and stroke along it, top to bottom, rolling slowly round to the face. On the toe, sand lightly and only the face side. The end grain at the very bottom soaks up water like a straw, so leave the old sealed layer there alone unless it has split.
Do the work outside or in a room you can sweep. Willow dust is fine and it gets into everything.
How much face to take off
Take off as little as you can. Our working limit is about one millimetre at the deepest point, and on most bats you need half of that.
Here is a number to keep in mind. On a full-size blade, one millimetre off the whole face weighs about 25 grams. That does not sound like much, but a bat that picked up nicely at 1,180 grams starts to feel different near 1,150, and the middle you knew moves a little.
Work in short sessions. Do ten long strokes with 120 grit, wipe the dust off with a dry cloth, and look at the face under side light. Stop the moment the dark marks have faded to pale. Some deep seam cuts will not fully go. Leave them. Chasing a single cut can cost you a full millimetre across the middle.
Do not try to sand out a crack. A hairline crack on the edge or toe is a repair job for glue and binding, not sandpaper. Sanding it opens it.
When the bat is past re-facing
Some bats should not be sanded at all. These are the signs we look for when a player brings one to the bench:
A crack that runs across the face from edge to edge. That is the blade breaking along its width, and no finish will hold it.
A toe that is soft, spongy or split up from the bottom by more than a finger's width. Water has got into the end grain and the wood is rotting from below.
Edges already worn thin, where the old shape has gone from rounded to flat. Sanding thins them further.
A face that has been sanded before. Look at the stickers. If they sit proud of the face by a step you can feel, someone has already taken wood off. A second re-face on the same bat rarely leaves enough of the pressed layer to be worth it.
A dead sound. Tap the middle with a knuckle. A sound bat rings. A bat with a hidden crack inside sounds flat and dull. If it sounds dead before sanding, it will sound dead after.
Any one of these, and the money is better spent on a new blade. Our English willow bats come in sizes 5, 6, Harrow, SH and LH if you need a replacement for a grown player.
The finish we leave
On a new bat from our bench, the last paper on the face is fine grit, run along the grain, and the surface is left bare for oiling. Do the same at home.
After the 240 grit, wipe the face with a dry cloth, then a cloth just damp, then let it dry for an hour. The damp cloth raises any loose fibres. Give them one last light pass with 240.
Now oil. Use raw linseed oil, not boiled. Put about a teaspoon, roughly 5 ml, on the face and rub it in with your fingertips until the wood looks evenly wet. A little goes on the edges and the face side of the toe. Keep it off the splice, the handle and the stickers. Lay the bat face up, flat, for 24 hours. Do one more thin coat the next day if the wood drank the first one quickly.
Too much oil is the common mistake. A heavy coat sits in the wood, adds weight and makes the fibres soft. Two thin coats beat one thick one every time.
Before you play with it again
Sanding has taken off some of the hardened surface, so the face is softer than it was. Treat it like a bat that needs settling. Give it a light session with a mallet over the middle and the edges, then a few overs of throw-downs with an old ball before you take it into a match. An anti-scuff sheet over the new face helps it keep its finish through the season.
If you want the oil, mallet, grip and anti-scuff sheet together, the bat care kits carry all of them in one box from our Meerut workshop.
Related posts
 Kashmir Willow Cricket Bat Durability: What Causes Cracks, Surface Wear and Blade Damage?Discover what affects Kashmir Willow cricket bat durability, why cracks and surface damage occur, and how proper care can extend your bat's lifespan.
 English Willow Cricket Bat Knocking-In Explained: Preparing the Blade Before Match UseLearn how to knock in an English Willow cricket bat, prepare the blade before match use, avoid common mistakes, and protect your bat from premature damage.
 English Willow Cricket Bats Explained: How Bat Pressing, Grain Structure and Blade Compression Influence PerformanceLearn how English willow bat pressing, grain structure, and blade compression influence performance, durability, shot response, and bat selection.